Week 1 Summary
To allow communication between the main C/C++ code running on a desktop and the Arduino, we decided to use an existing library to simplify the process instead of writing the fundamental serial communication code ourselves, which could have proved challenging in the time-frame we have for this project.
Many of the libraries that we considered had trouble compiling at all, and the only one we have found that compiled is poorly documented and difficult to find the origin of. However, it is the only one that is working so we will be using it for the time being. If a better one is found, we will switch to it.
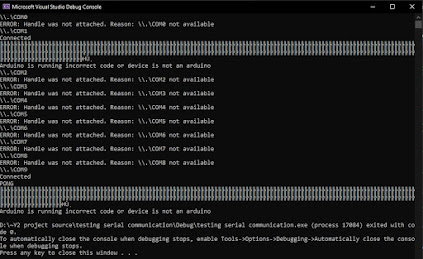
Finally, when trialling the library, we discovered that it would receive ‘junk’ data from the Arduino that would need to be filtered out to allow the program to work as needed.
A Visual Studio project was decided to be the best option to house the code for all the levels. A simple text code for level 1 was created, and can be seen below. Ideally, I would like images to be displayed through the code, but I had a lot of trouble trying to implement them. I researched how this would be possible and found a repostory called "OpenCV". I had no luck trying to get it to work however, so I've set that asside and focussed on ensuring a stable text based game works.
·
Setup the Arduino to make it communicate with a
Laptop or PC.
·
Create a code that will allow the Arduino to
measure the voltage across the analogue pin.
·
Calculate the value of the voltage in different
cases mathematically and save it in the code.
· Make the code be able to communicate with the
user in order to let the user know whether the setup of his circuit is correct
or incorrect by measuring the voltage across the pin and compare it with the
mathematically measured values of the voltage across the analogue pin.


Comments
Post a Comment